Art

Art

Monday, December 16, 2013

Christmas Tree Photos


I've been playing around with photographing the Christmas tree.  I'm no pro, but Katie made a lovely little model, and I like how these photos turned out.  So I decided to share.


Shiny Objects
Oh the magic of Christmas!
DIYShowOff

Saturday, December 14, 2013

Easy and Perfect Snowflakes

I don't know about you, but we spend many hours every Christmas season, making snowflakes.  I'm talking finding-paper-scraps-in-the-carpet-all-season-long, many hours.  I've also found one quick trick, that makes them look great every time.


First, here's how you fold a basic 8 sided snowflake.  Start with a square piece of paper folded into a triangle, then follow the steps below.


Here are 3 snowflakes that I'll demonstrate on:


Cut away the extra paper.


Now, here's the "trick".  To start with, cut away one large section in the area pictured below.  This will leave a nice bold shape on the outside of your snowflake.  This cut should take up at least half of the length of the snowflake, and will be your one main cut, that defines the entire shape of the snowflake.


Next, you can never go wrong with cutting away a smaller version of your first cut.


On the remaining portion (this will be the inner part of the snowflake), cut away any shapes and  designs you want.  It really doesn't take too many cuts to make it look great.


Here are the 3 I worked on for this example.  The bold shape on the outside makes the snowflakes look perfectly lovely.


Have fun creating!


Like what you see?  Follow me on facebook by "liking" my facebook page, thanks for visiting.

Friday, December 13, 2013

DIY Ornaments for Kids

Yesterday we tried out this simple and fun idea I came across on pinterest.  The kids loved it, and so did I.


All you need are plastic cups, sharpies and an oven.

Draw on your design:


Now watch it shrink!  I set my oven to 325 degrees, it only took a few minuets to shrink.  I kept an eye on them the entire time.  It was fun to watch.

Wait until they are more melty than this to flatten.
 It took some playing around, but soon I found the "sweet spot".  Find the time when they are at just the right temperature to flatten with the spatula (they have to be malleable enough to flatten, but not so hot that they curl).  If I didn't get it right the first time, I left it in the oven a little longer and flattened them again when I took them out.  I would suggest starting with just one in the oven at a time, until you get the hang of it.  Then you can do half a dozen at a time, it's like playing a mad game of Whack-a-Mole when you're flattening them all.  If you leave them in the oven too long, they will curl up on themselves, so try to find that "sweet spot".


Make sure they stay flat until they are cool.

Here we go again!  We made batch after batch after batch.


The kids got really creative with all their designs:


Enjoy!

Thursday, December 12, 2013

Studio Before and After

Today I tackled perhaps my largest project to date.  I cleaned my basement studio.  I thought this deserved some before and after shots.

 All right, so here we have it.  No, there wasn't an earthquake, or a tornado.  Or a little family of Tasmanian devils living in there.  And before you start counting all the safety hazards... just give me a chance.

Before
Ta-da!
After
Yay!  Time to be inspired and put those blank canvases to good use.  Yes, there is still paint on the floor, and sawdust in the corners.  But that's what I love! There is not much I enjoy more than creating something in all it's grand messiness, and taking it out of that messy environment, into a beautiful setting.  It's magic.  But I do need floor space to do it.

This canvas is ready to go


I found some great things I had forgotten about during this clean up.  

Like this fork.


I also found some strange things.

Like this... thing.

What in the world is this?  Better hang on to it,
you never know when one of these will come in handy.
I hadn't realized I have horded so many frames, now they are all nice and tidy in a box of their own:


Here's a peek at two other hoards I have in my studio, my buttons and vintage lace.


So much to be created- so let's get to it.

Last, but not least, while I was doing all this, look where I found this nosey little bugger!


Wednesday, December 11, 2013

Pine Wreath


I love wreaths!  There is something about putting together a lot of smaller items, to make one big thing, that I really enjoy.  

I started off with some giant pine cones, a plain base for the wreath and a glue gun.


 Repetition can be beautiful. Here's what I ended up with:


At first I just had the pine cone wreath on it's own, but later realized I wanted the edges to be softer.  So, I simply added the garland behind it.  That really did the trick.


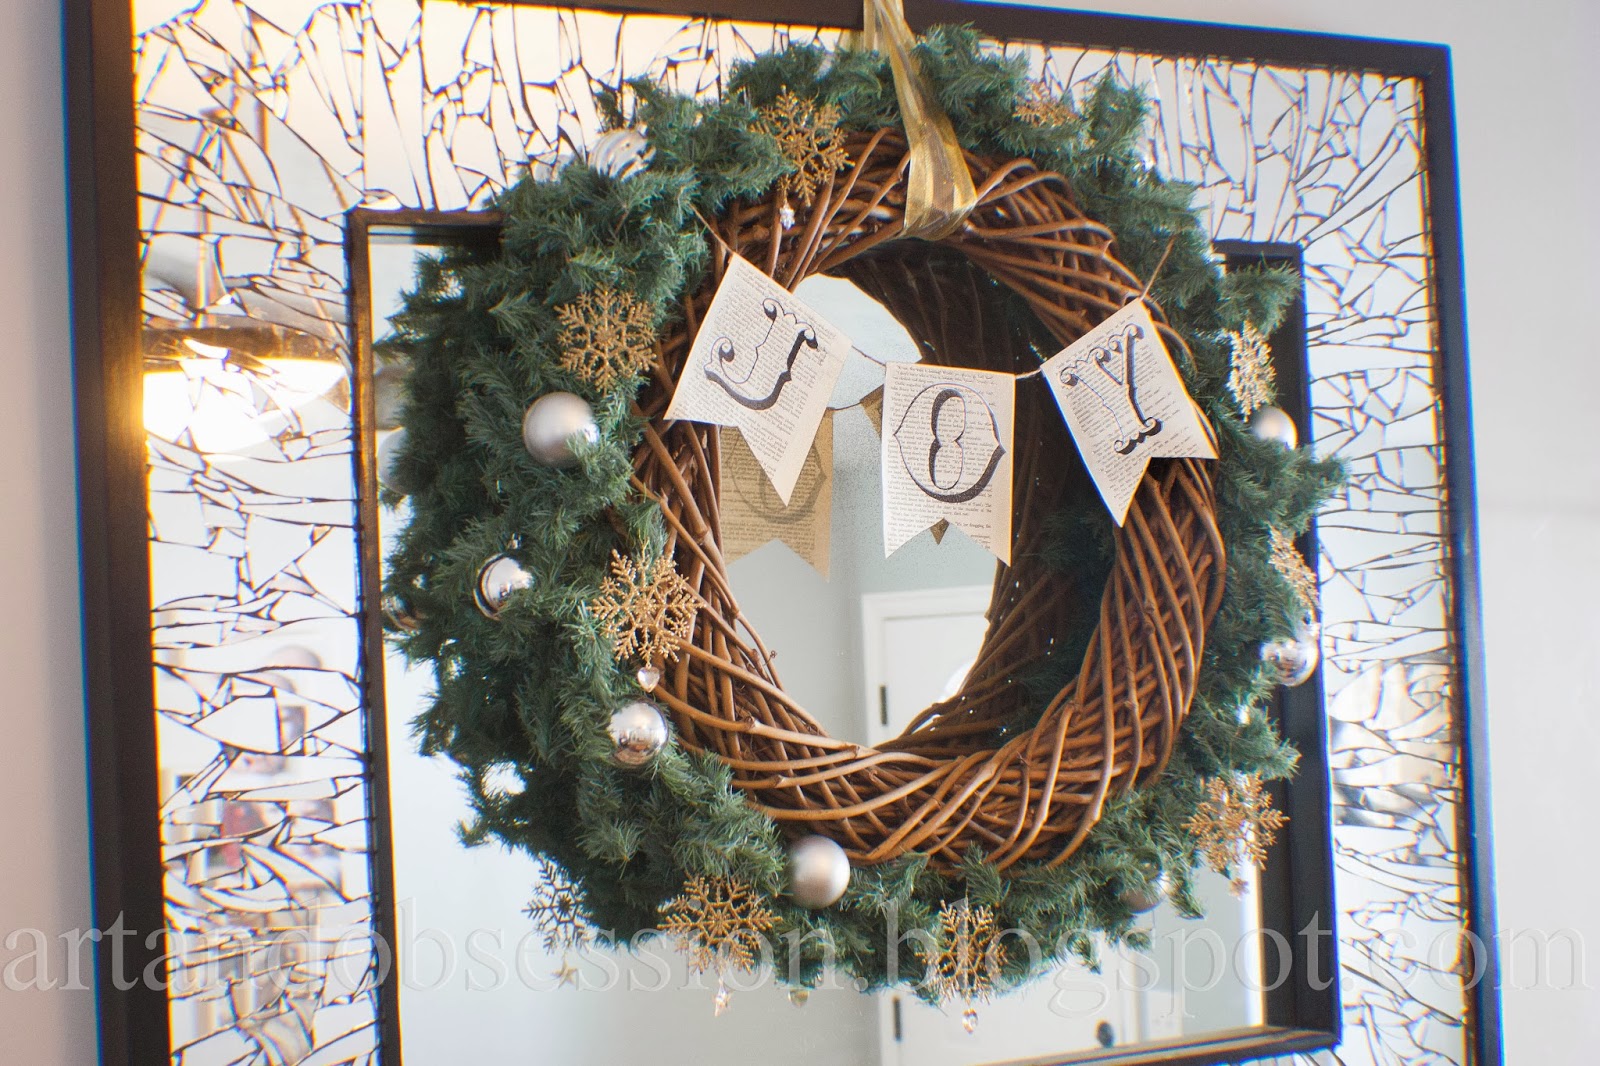
Here's one more of my Christmas wreaths, just for good measure.  You can find the tutorial for the book page banner here.


Happy holidays everyone!  Christmas is in the air!