Art

Art
Showing posts with label yardsales. Show all posts

Monday, November 25, 2013

Monogram Christmas Ornaments

Christmas is in the air at my house.  I love monograms, and these make the perfect addition to our Christmas tree.  

Clark and Katie, this same time last year
 Besides these ornaments being so cute, it was a nice way to include Clark in our Christmas this year.  This would have been his second Christmas, and I'm starting to find out, the holidays make me miss him in a different way.  Also, Katie is starting to learn how to write everyone's names, so I thought she would especially enjoy this as well.  She's my partner in crime when it comes to Christmas decorating.

So here I go, this is how I made these fun ornaments:


I printed out the letters onto card stock.  Traced circles around them and cut them out.


I got the wooden flowers at the dollar store.  I was really looking for circle ones, but this is all they had.  I didn't want them to look like flowers, so I hot glued two of them together to make a scalloped edge.  I'm actually glad they didn't have circles, because the scallop turned out so cute.  The circles I cut out were as big as possible, to help hide the flower shape, and just show the scalloped border.


Now time for the Mod Podge.  I put a layer over the entire top.  Don't mess with it too much, or the ink will smear a bit.  Let that layer dry (I was impatient, and popped them into the oven for a few minuets at a low temp).

I used a plastic cup (cut down to the right size), to trace my circles,
and to mask the letter while I was pouring on the glitter.

Here comes the glitter!  I did the glitter in two applications.  One on the top, and after that dried, I did the sides.  Then I drilled a hole in the top, added a ribbon and bead, and they're ready for the tree.  Beautiful!


I made all 7 of these for $2, the glitter, beads and card stock all came from yard sales. Don't forget to add craft supplies to the list of things you're looking for at yard sales.  I didn't know what I'd be using this glitter for, but it was just perfect for this project.

Monday, November 18, 2013

Shelf Above the Potty

Searching to find the perfect something to put above the toilet, I remembered I had this old shelf I had picked up from a yard sale.  It was super dusty, the cute wire grids were falling out, and it needed painted.  But it was well worth the effort, because I love the end result.  It also gives me a place to display some fun things I have found at, yes, yard sales.  The plant and black and white frame where given to me.  Other than that, this whole thing (including the shelf) cost me around $10.


Adding this shelf, with all accessories really changed the feel of the whole bathroom.  

Side view of bathroom "above the toilet" shelf

Scrabble sets are another thing I am always on the look out for when I go to yard sales.  I got each set for around 75 cents. This jar holds 3 sets.  I thought they would take up more room, but it turns out each set really doesn't have too many tiles.  My secret, I put a paper bowl in the bottom of the jar to take up more space.  I covered the bowl with the tiles, and you can't even tell it's there!


Wednesday, November 13, 2013

Lily's Newborn Photos

Three weeks ago today, I had a baby!  She came 17 days early, and gave me 45 minuets from when my water broke, to when she was born.  Not enough time for an epidural.  That is something that has never been on my "To-Do" list, but now that it's over, I think it's pretty cool.  But I digress.  After she was born, my parents were so kind to take my other children for the day.  That gave me a chance to play around with taking some photos of Lily.  Now, please note, photography is one area in art I've always been afraid to dabble in.  It seems there too much to learn, and too many competent photographers already out there.  That being said, it is with some hesitation that I share any tips with you.  I am very new to this, and still have a lot to learn.  But in shooting these photos of Lily I did learn a lot, and I want to share.

Here is where I started, I do love a lot of things about them, but I've also included my own critique:

The ground is too flat!

I like this, but after looking at it, it's a little too "diapery" for me.

What's cuter than a baby in a basket?


I like this too, but the lighting is really washed out,
and the pose looks too straight on.
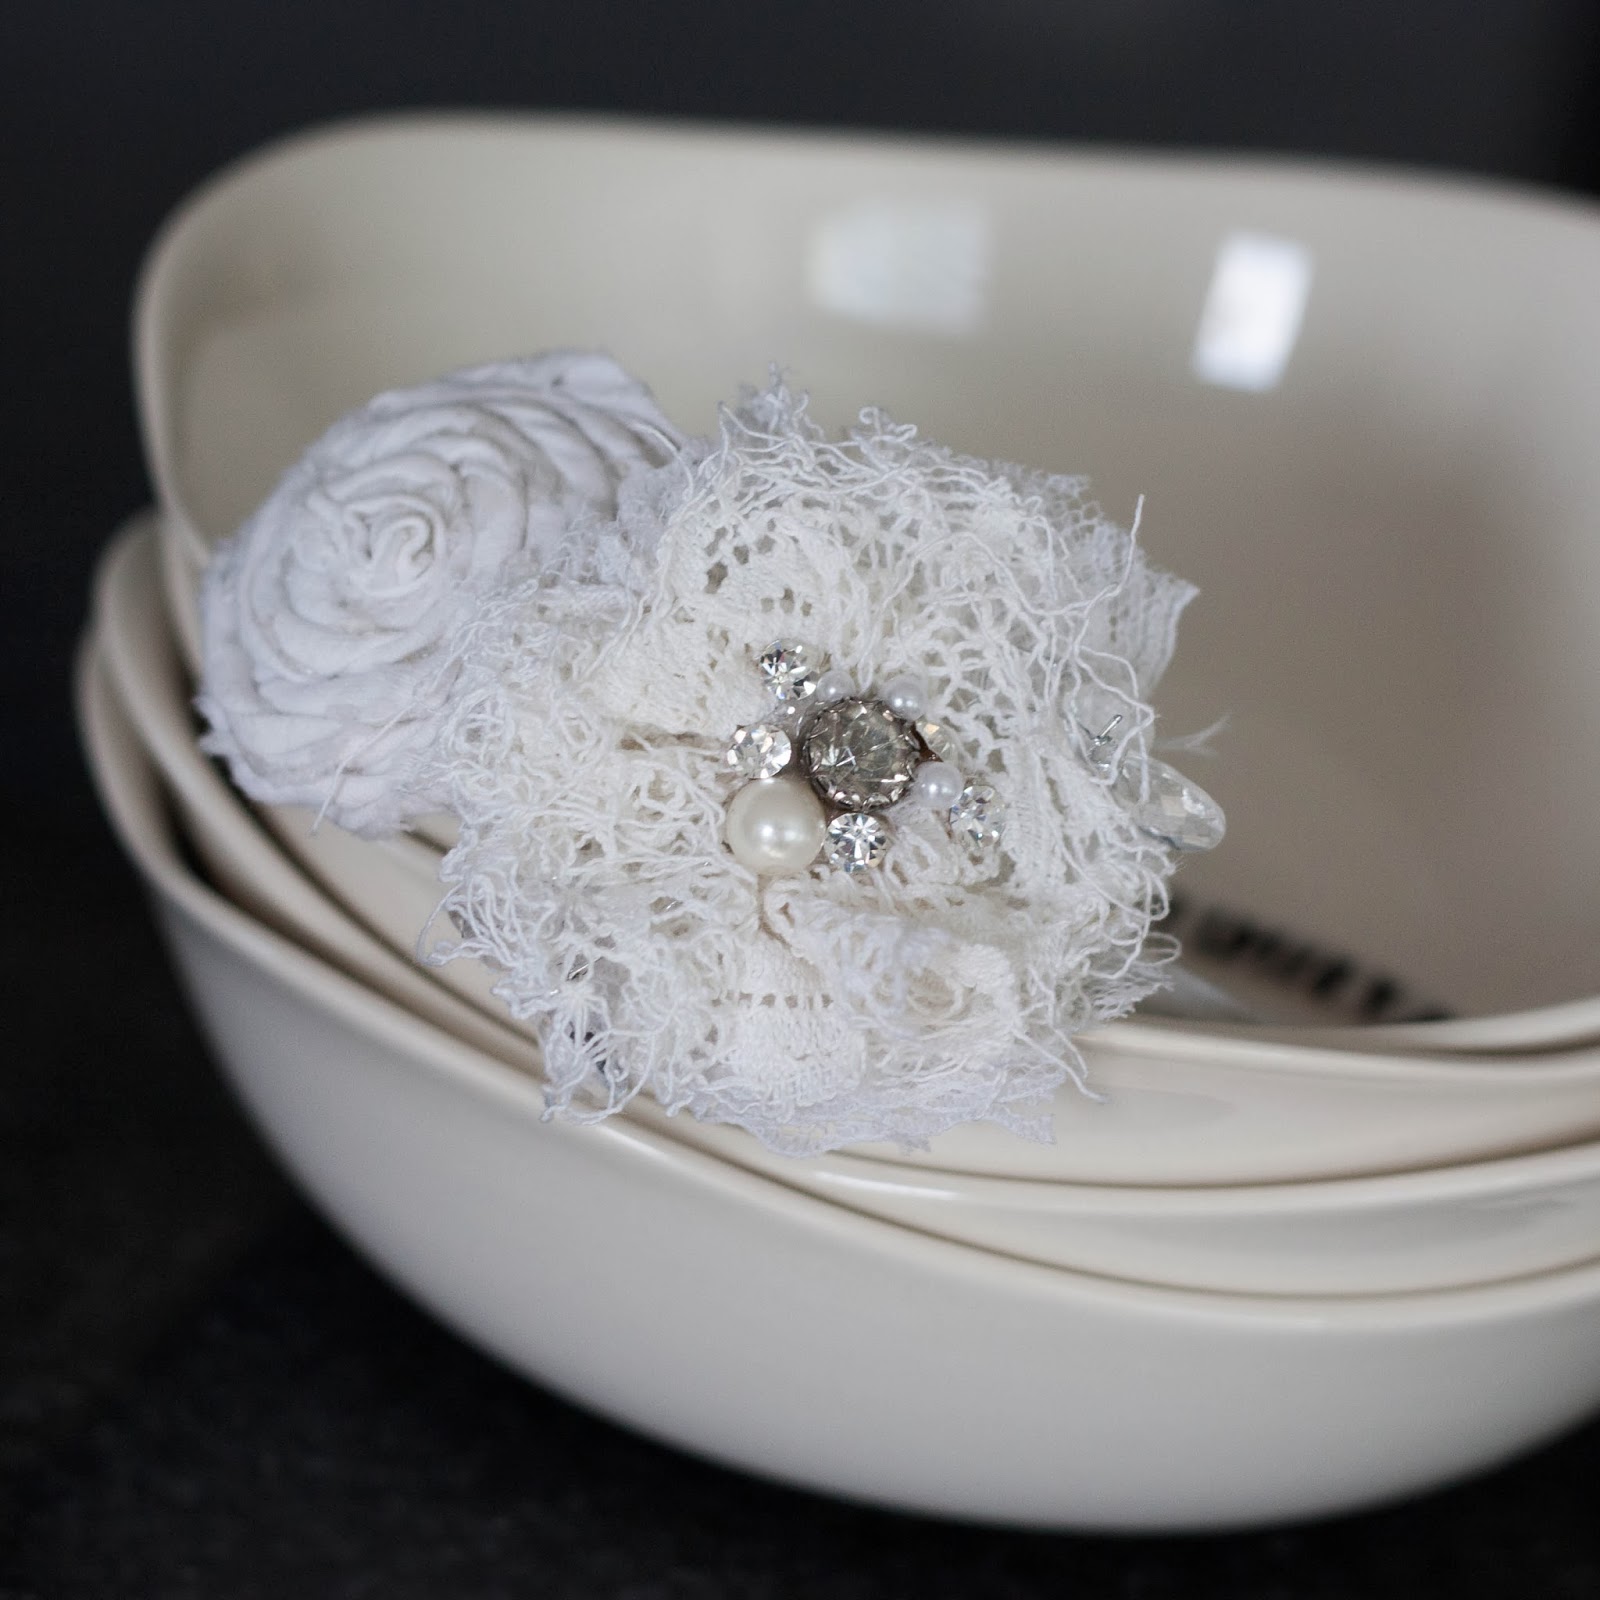
Adorable, yes.  But I felt I could do better.  A few days later, I gave it another go.  This is AFTER I researched newborn photos on pintrest and youtube.  First, I realized that I needed an overly trendy and adorable headband.  I pulled out my vintage lace stash, bits of fabric, beads for bling, feathers, and rhienstones.  Most, if not all, which came from yardsales (I am crazy for yardsales).

And... Wall-la!  Here's what resulted:


 Next, I sought out better lighting, and put pillows under a blanket, for a nice soft feel.  From looking online, I noticed how important hand placement is.  Also, making sure her face wasn't turned down into the blanket at all.  My favorite trick is to take hundreds of photos, and hope for a hand full of usable ones.

Here are the results:
If you wait long enough, they just might smile.
She only smiled a few seconds out of an hour of shooting,
but I was ready, and that's all I needed.


Still loving the "baby in a basket"  but this time
I  made the whole scene more comfortable.
 Also, I covered up her diaper with some bloomers.


I feel like my second round of taking her photos improved so much.  I captured so much better, the adorableness that is a newborn.  So, I'm really happy with how these turned out.

I shoot using a Canon eos Rebel xsi, and process in Adobe Lightroom.  I LOVE that program.  Just look at the before (straight out of the camera), and the after (after using Lightroom).

After
Before
A few tweaks, and it just gives it that extra special feel.

Like what you see?  Follow me on facebook by "liking" my facebook page, thanks for visiting.